
It all started on a rainy afternoon when my kids asked a very dangerous question:
“Dad… can’t we turn our own pictures into pixel art?”
That question triggered what every developer-parent knows too well — a new side project was inevitable.
A Small App with a Big Creative Goal
So I built a small pixel image creator just for them.
What’s wild is that I built the entire app with AI from start to finish. I will be writing a post about this soon to explain the approach to developing the app with AI using ChatGPT and Antigravity. I’m genuinely amazed — and a little shaken — by how dramatically language models have evolved over just the past six months of 2025. The speed and depth of these capabilities raise as many questions as they answer. I’m not entirely sure what to make of it yet, or where all of this is ultimately heading. But anyway — back to the actual project.
The idea was simple: take any image, reduce it to clear, chunky pixels, limit the number of colors, and turn it into something that can be built by hand.
The app transforms photos or drawings into clean pixel templates that are perfect for crafting, learning patience, and understanding how images are built — one pixel at a time.
From Screen to Real Pixels
The real magic happens after the pixels appear on screen.
Once the image is ready, it can be turned into a printable guide and built in the real world using physical pixel elements. Digital in, analog out. I love that combination. 🙂 If you’re into that kind of hands-on creativity, have a look at one of the following sites, where you can order materials specifically made for pixel art projects:
The Apfelmännchen Makes a Comeback
For my own experiments, I needed a proper test subject — so I chose the Mandelbrot set, in german speaking countries also known as the Apfelmännchen. See this post for further inspiration. 🙂 Try out my app right here.
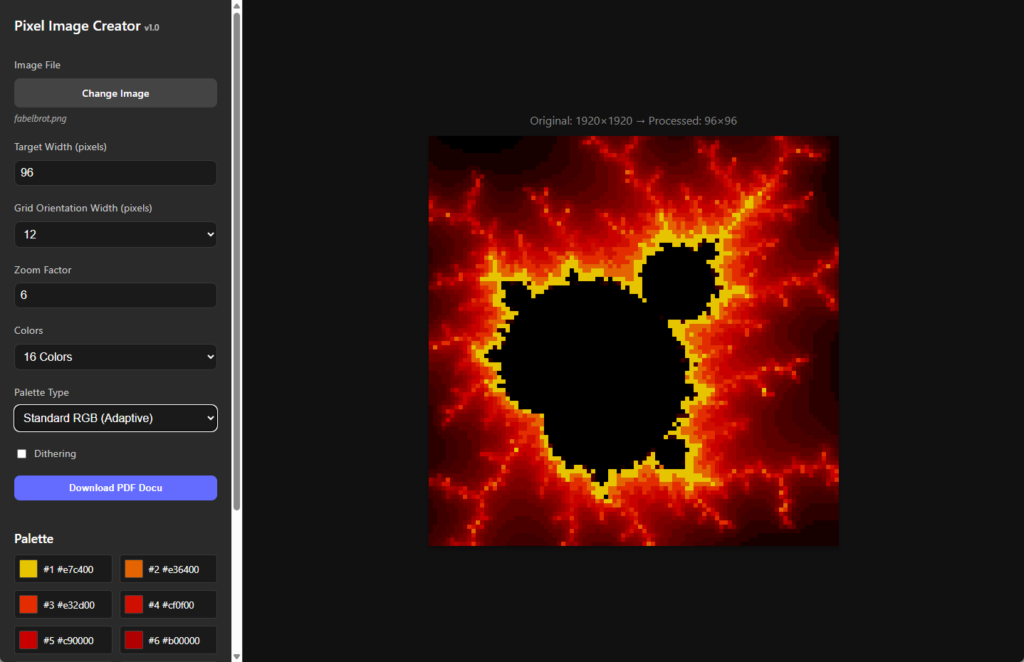
Using target width, you can define the width of the desired output image. The Grid Orientation Width property defines how far apart the orientation lines of the grid are in the PDF. These lines help with navigating the page while placing pixels. Using steps of 12 makes sense when working with base plates sized 24×24.
The Zoom Factor is only relevant inside the app and is used to scale up the graphic so individual pixels are easier to see. If it’s set to 10, a single pixel is rendered as a 10×10 square.
Under Colors, you can choose how many colors should be used. Palette Type defines whether arbitrary RGB colors are allowed or if the palette should be limited to the colors that are actually available in physical pixels in the stores mentioned above.
Here’s the image I used as input in the test-run above, generated using the MandelBrowser app from Tomasz Smigielski. Those infinitely detailed shapes have fascinated me for as long as I can remember.
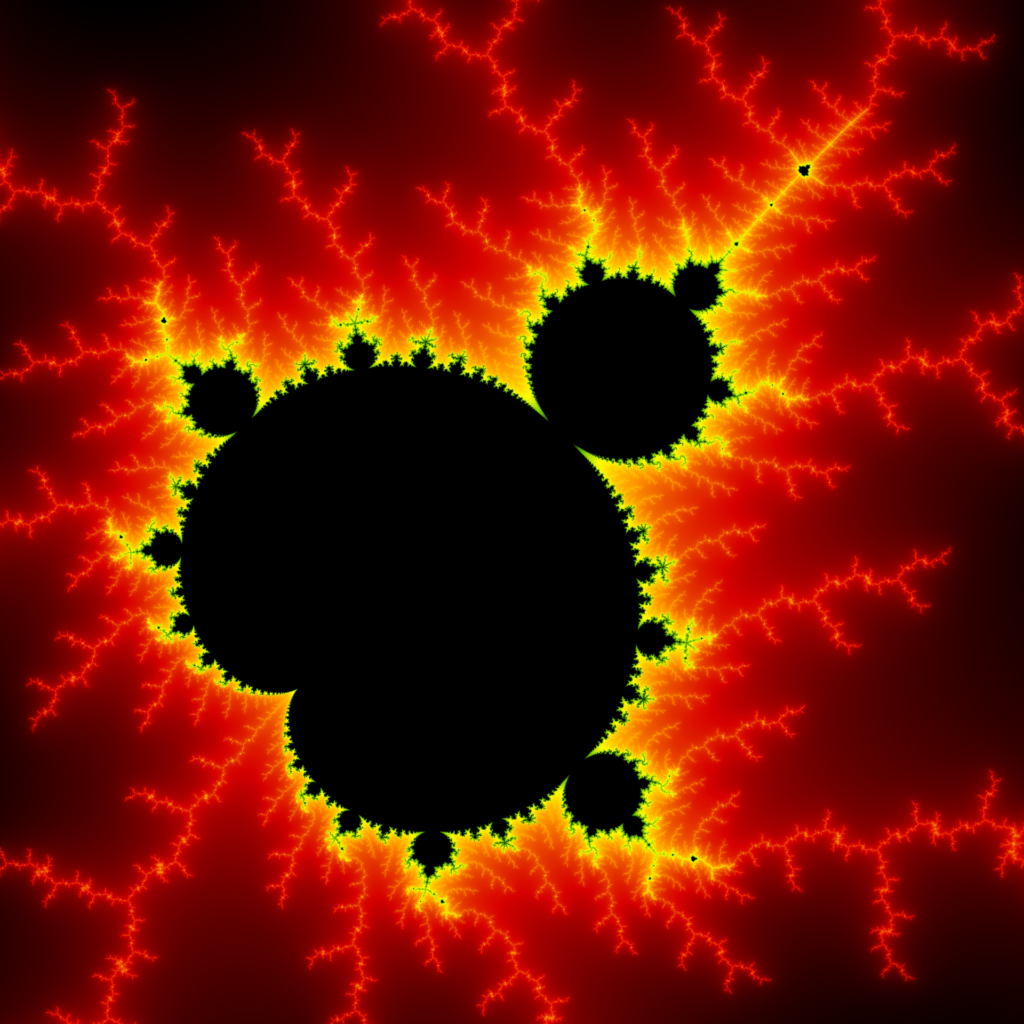
Of course, the resolution of this image is way too high for what we actually need — but that’s part of the fun. And honestly, seeing a Mandelbrot fractal reappear today as pixel art feels oddly poetic…
The very first time I programmed one was on a Commodore 64. It was slow, noisy, and absolutely mesmerizing — and apparently, that fascination never really left.
Holiday Plans: Pixel by Pixel
Using the app is straightforward and intentionally simple. First, you choose the basic image settings — such as the target image size and the number of colors. Once you’re happy with the result, you can download a PDF documentation.
This PDF becomes your building guide: it starts with an overview of the pixelated image and its color palette:
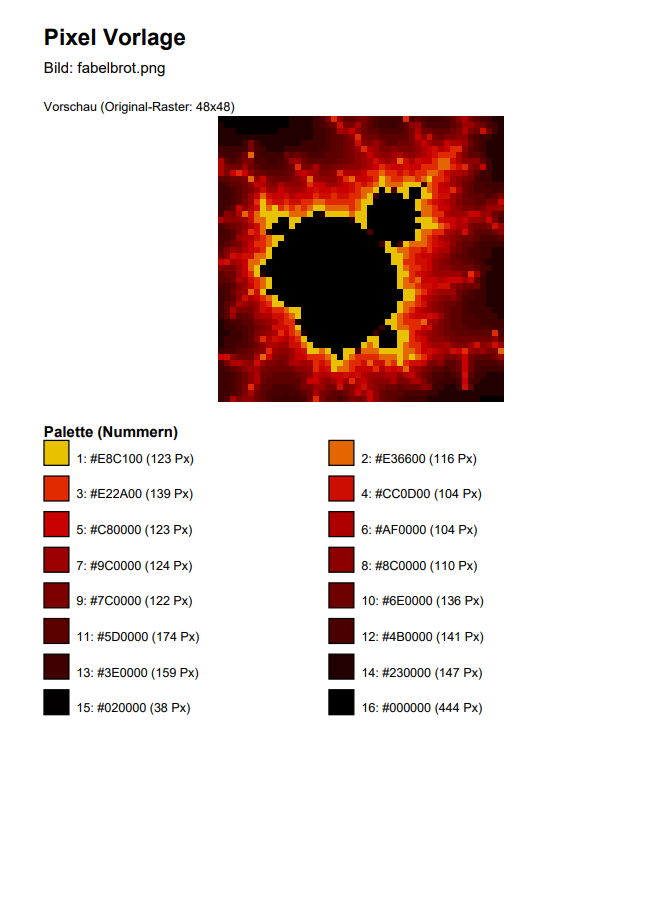
The rest of the pages then shows one grid per color. Each grid clearly indicates which pixels need to be placed in that specific color. One color at a time, one pixel at a time — turning the image into a hands-on pixel artwork.

Over the holidays, I’ll finally build one of those Mandelbrot images by hand. No screen. No shortcuts. Just placing pixels, one after another, and enjoying the process.
Some things don’t need to be optimized. 🙂
Try It Yourself
If you’d like to give it a spin, you can try the app here. I hope you enjoy the app!
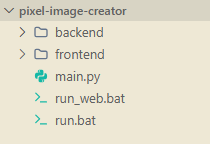
Web Mode or Stand-Alone? Why Not Both
The app can be started in two ways:
- Web mode – directly in the browser, no installation required
- Stand-alone mode – for offline use or a focused creative session
Kitchen table, workshop, classroom, or couch — it just works. And that flexibility turned out to be surprisingly useful with kids around 😊. Depending on which mode you want to run the app in (as a web app or as a desktop app), simply start the corresponding bat file:
The full source code for this project is available on my GitHub page here.
Closing Thoughts
This little project started as something for my kids — but it quickly became a bridge between generations of technology: from the C-64 to the browser, from math to art, from code to creativity.